Overview
During onboarding, you and your team uploaded contract documents to GovDash to build your initial contract inventory list. We recommend going through your inventory list periodically to make sure you have all of your contract documentation uploaded.
Ensure You Have...
For each contract within GovDash, it's best to have a combination of the following documents uploaded to each contract record if you have them available:
Main contract document
Performance Work Statement/Statement of Work
Resumes of Personnel (key and assigned)
Status Reports
Deliverables
CPARS
The more information that GovDash has about your contract and the work you performed, the better we'll be able to write to those capabilities in your future proposals, and the better we can match opportunities to your team based on your past performance!
Important - Contract Requirements
Your contracts within GovDash must at least contain the main contract document and PWS/SOW in order to use it as past performance, as without these documents, we cannot create compliant past performance narratives.
Uploading The Main Contract and PWS/SOW Documents
To access Contracts to manage your contract inventory in GovDash, click Contract in the GovDash navigation menu on the left.
If you haven't already uploaded the main contract documents to the contract record, or would like to verify that you have uploaded the documents, you can verify by seeing if you have a  symbol next to your contract. A compliant contract that contains these documents will have a
 symbol next to the contract, signifying that it can be used as past performance within your proposals.

To upload these documents, you can hover over the  symbol to see which document is missing, then click Add Contract Document or Add PWS Document. You can change these documents out at any time in the Key Documents section of your Overview page.
Uploading Supporting Documents
Once you have your main contract documents uploaded, we highly recommend uploading supporting documents like contract modifications, resumes, status reports, deliverables, CPARs, etc. so that GovDash has the best foundation for writing content, capability matching, and more.
To upload supporting documentation to any contract, start by clicking on the contract title in your contract inventory list.
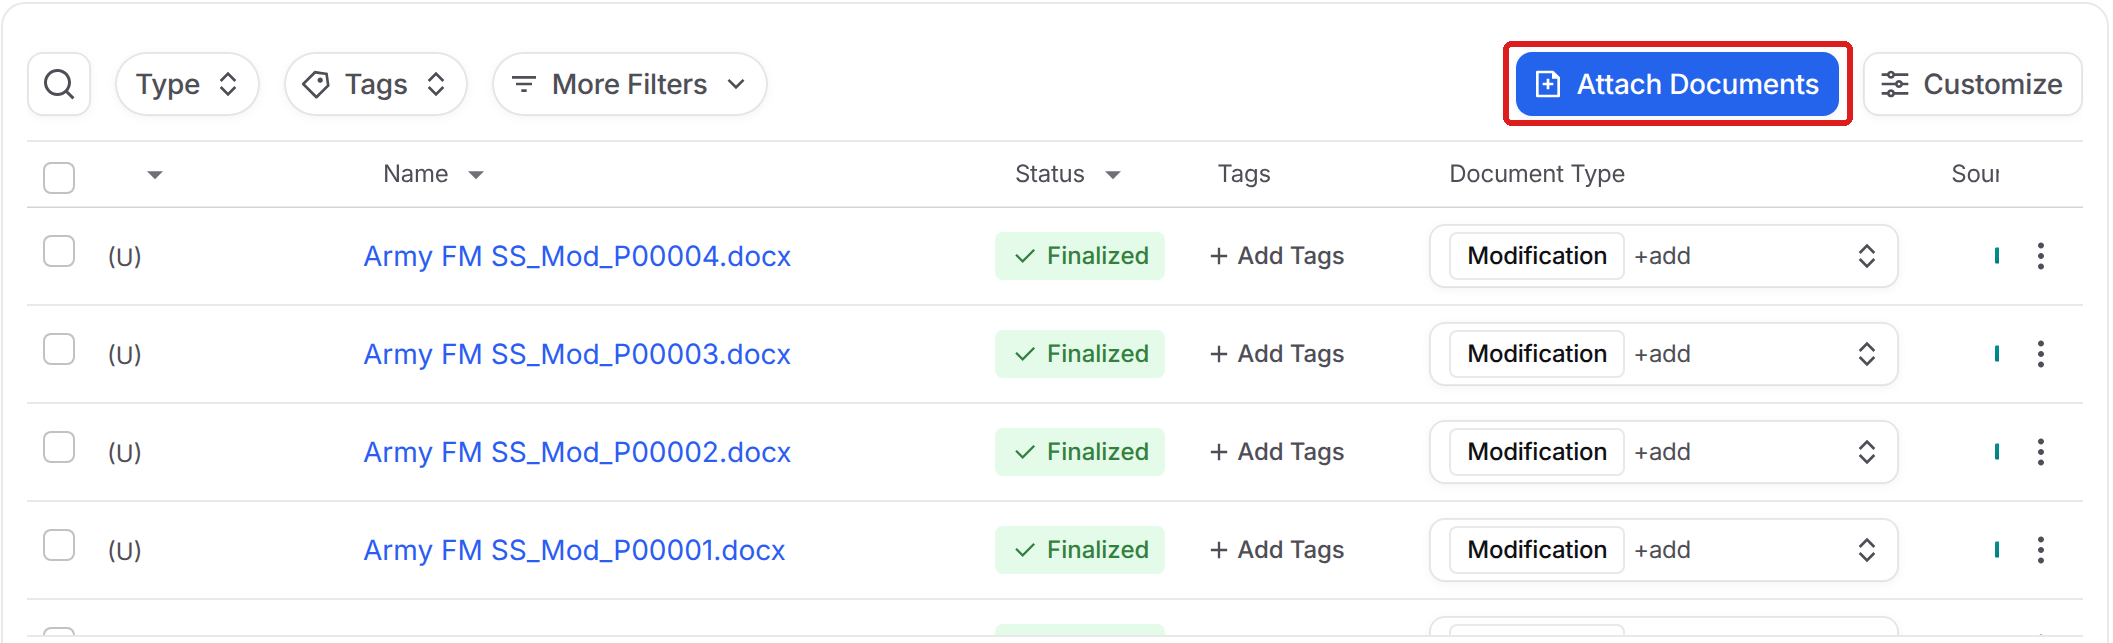
Next, click the Attach Documents button located in the top right of the Documents tab.
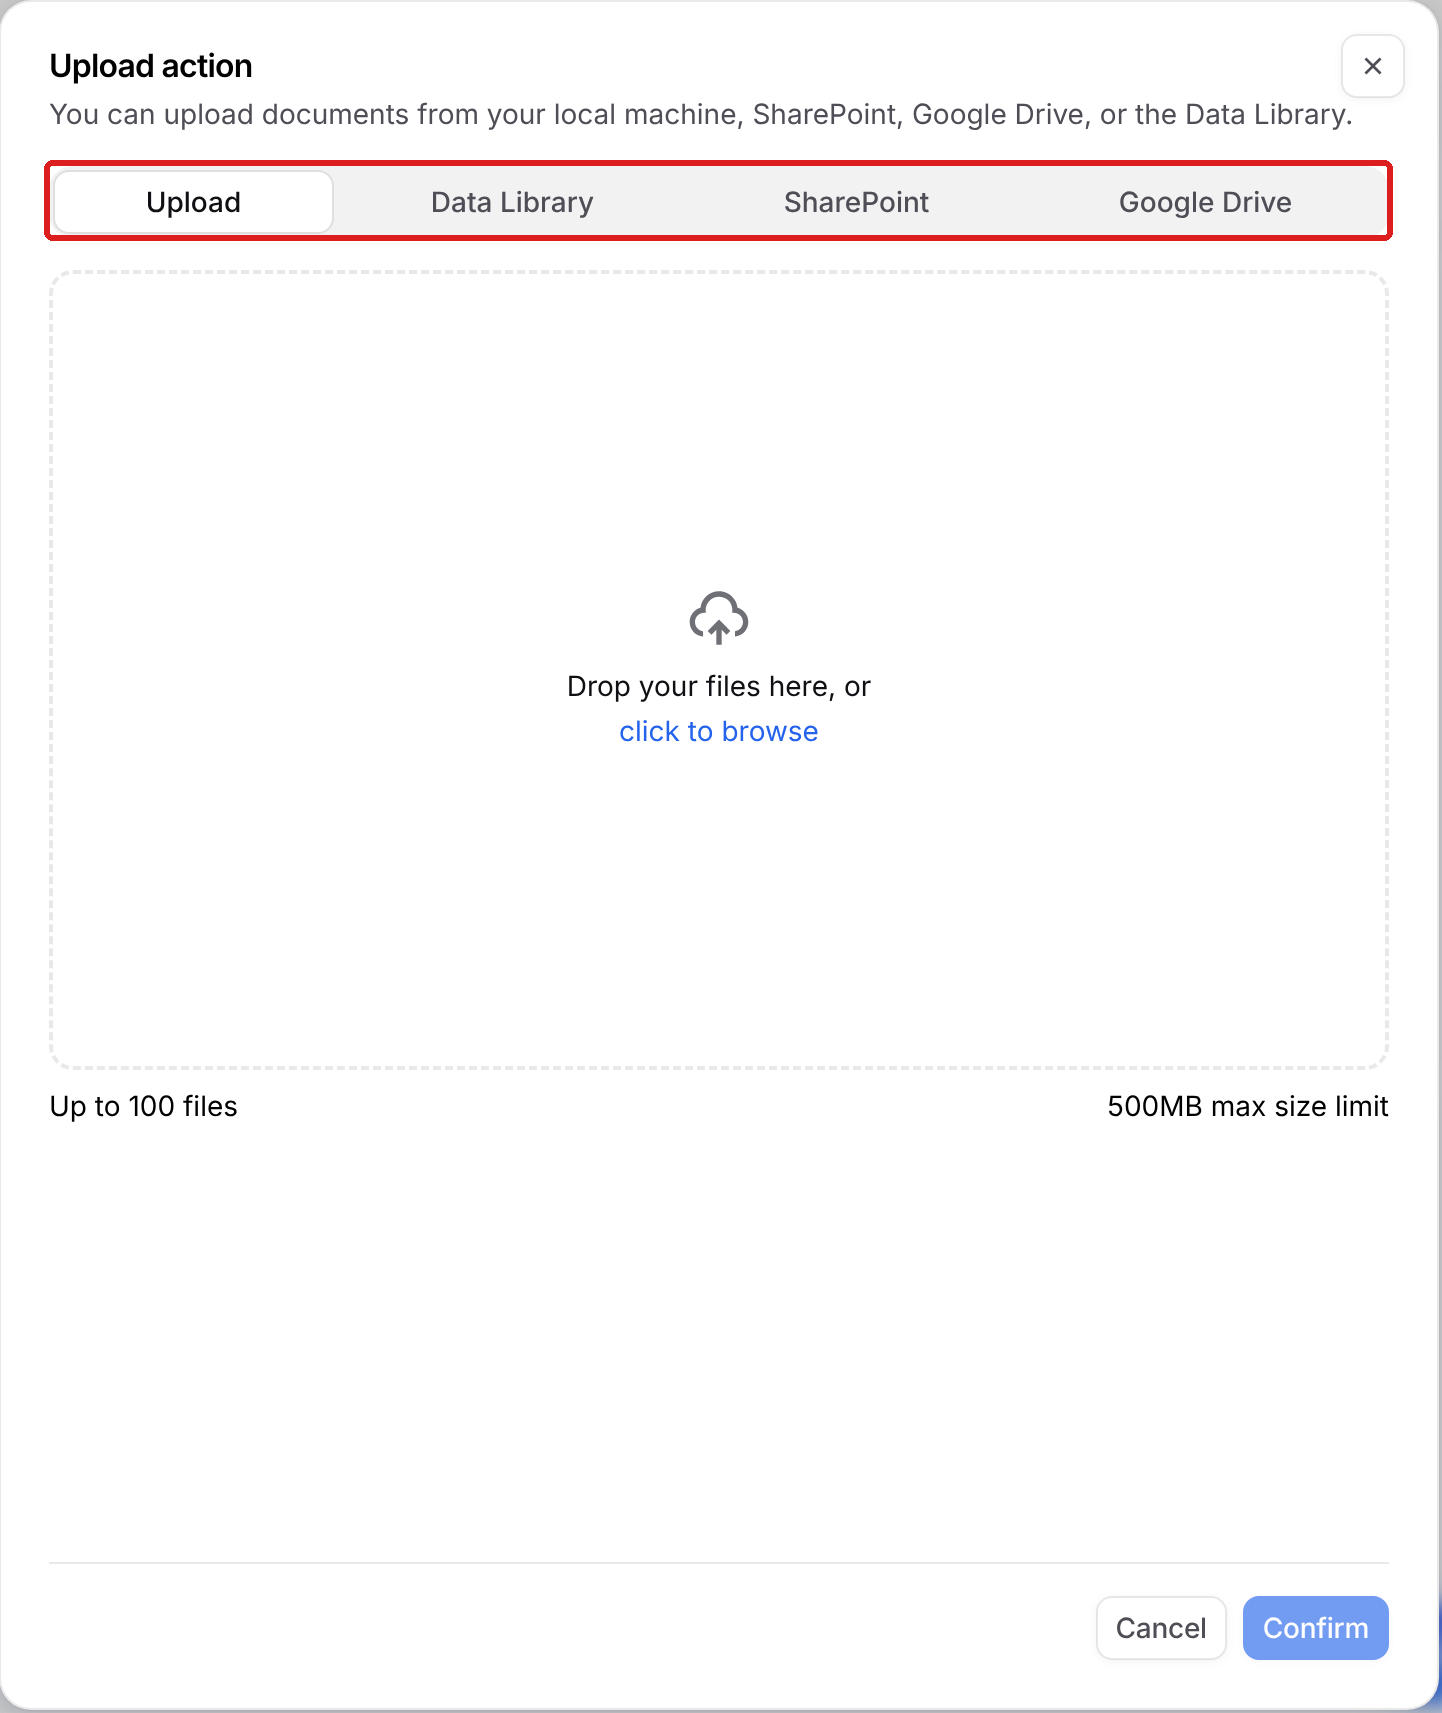
To upload files from your computer to the contract record, click Upload, and then you can drag and drop your files, or click to browse your local computer. You may also attach documents from your Data Library, SharePoint, or Google Drive.
Once your files are selected, click Confirm, and GovDash will upload your supporting documentation directly to the contract. This will update your contract details, as well as the past performance description written for this contract.
Browsing Contract Documents From Your Inventory
Next to the Contracts tab in your Contract Inventory, the Documents tab shows a single list of the documents attached to your contracts. It gives you one place to look through your contract paperwork without opening each contract record one at a time.
To get there, click Contract in the GovDash navigation menu on the left, then click the Documents tab at the top of the page.
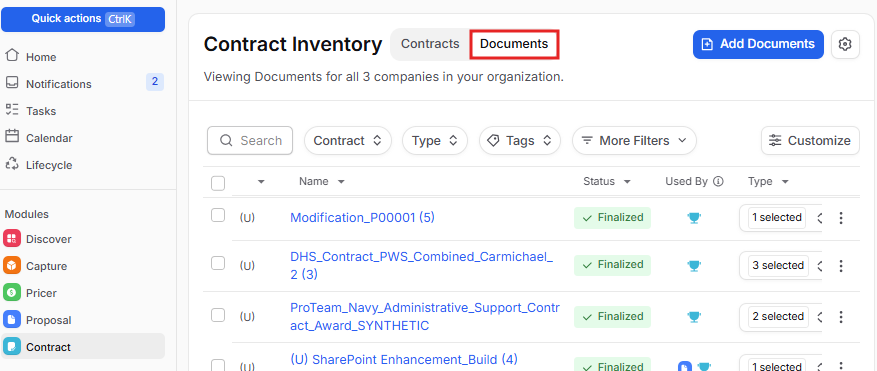
The Documents tab lists the documents attached to your organization's contracts, with columns for Classification, Name, Status, Used By, Type, Tags, Contracts, Source, Uploaded By, Uploaded, and Last Updated.
Documents that belong only to External Contracts are not included, so what you see is your own past performance paperwork.
You can search, filter, and sort the list the way you do in your Data Library.
Viewing your inventory across an organization?
When you are viewing contracts across an organization and its subsidiaries, the inventory shows the Contracts tab only. Switch to an individual team to see its documents.
Adding Documents to a Contract From the Documents Tab
You can attach documents to any contract without leaving the inventory:
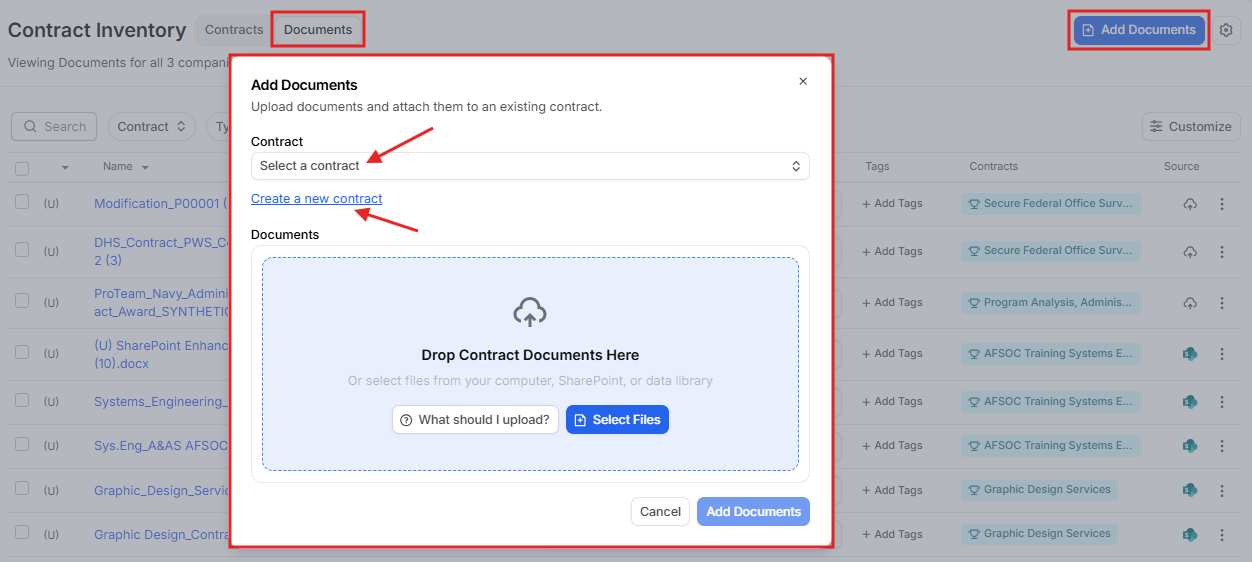
On the Documents tab, click Add Documents in the top right of the page.
In the Add Documents dialog, pick the contract you want the files attached to from the Contract dropdown. Not in GovDash yet? Click Create a new contract to create the record first.
Under Documents, add your files. Click Upload to drag and drop or browse your computer, or attach files you already have in your Data Library or SharePoint.
Click Add Documents. GovDash confirms that your documents were added to the contract and starts processing them against that contract record, just as it would if you had uploaded them from the contract itself.
Vehicle and Prime Contracts
If you hold an IDIQ, GWAC, or BPA, you can connect the orders issued under it to the vehicle itself. The same applies to subcontracts: you can connect your subcontract to the prime it sits under. Once connected, the orders nest under the vehicle in your contract inventory instead of sitting at the top level as unrelated records.
A vehicle contract is just a regular contract record. There is nothing special to create. Any contract becomes a vehicle as soon as another contract points to it as its parent, and every record keeps its own documents, period of performance, values, and past performance.
A contract can sit under one vehicle and one prime at the same time, so a subcontract on a task order under an IDIQ works the way you would expect.
Linking a Contract to Its Vehicle or Prime
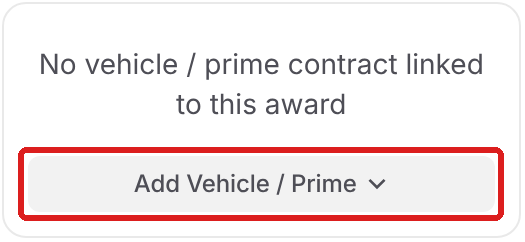
Open the task order or subcontract, then find the Parent Contracts card in the right sidebar of the Overview tab. Click Add Vehicle / Prime and choose whether to link a contract you already have in GovDash or create the parent record on the spot. Either way, the link is made right away.
Once a parent is linked, the card shows its title, contract number, and contractor, all editable from the card. The three-dot menu lets you open the parent record, switch it between vehicle and prime, or unlink it. Unlinking removes the relationship only. Neither record is deleted.
To go the other direction and add orders underneath a vehicle you already have open, see Task Orders, Subcontracts, and Related Contracts.
Letting GovDash Link Contracts for You
Most of the time you will not need to link anything by hand. When GovDash creates a contract record, whether you created it yourself, imported a batch, or uploaded a document, it reads the contract numbers on the record and connects it to its parent automatically.
All this takes is filling in the parent's contract number on the child record. The field is labeled for you based on the award type: a delivery order, purchase order, or BPA call asks for a Vehicle Contract Number, and a subcontract asks for a Prime Contract Number.
The one catch is that the parent has to already exist in GovDash. If you import a batch of task orders before the IDIQ is in your inventory, those orders will land at the top level and you will need to link them yourself. Load the vehicle first and everything under it connects on its own.
Recompetes and Follow-On Awards
Contract relationships connect a parent and a child, not one generation to the next. How you handle a follow-on depends on whether it is a new order or a new contract:
Another order on the same vehicle. Link it to the same vehicle record. Every generation of the work then nests under one vehicle, each order with its own period of performance and values.
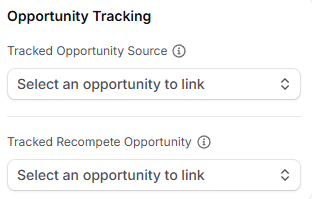
A brand new contract. Create a new record for it and leave the old one in place, since the incumbent's documents and CPARS are your past performance. To tie the two together, open the incumbent record and use Opportunity Tracking → Tracked Recompete Opportunity to point at the recompete you are pursuing in Capture, then set Tracked Opportunity Source on the new award once you win it.
Tip
Give the vehicle record its full ceiling value and leave obligated amounts on the orders. Use the Vehicle Name field (SEWP V, for example) on every related record so one search brings all of them up together. Vehicle Name is a label, not a link, so it does not create a relationship on its own.
Linking SharePoint Folders
Linking a SharePoint folder to your contract allows you to monitor new (or removed) documents added to a specific folder to quickly add them to your contract’s documents.
To link a SharePoint folder, navigate to your contract’s Documents tab, and click Link SharePoint Folder within the SharePoint Folder Sync window. Navigate to the folder you wish to link to your contract, and click the Link button to confirm. Your linked folder will display in the SharePoint Folder Sync window.
Adding Documents From Linked Folders
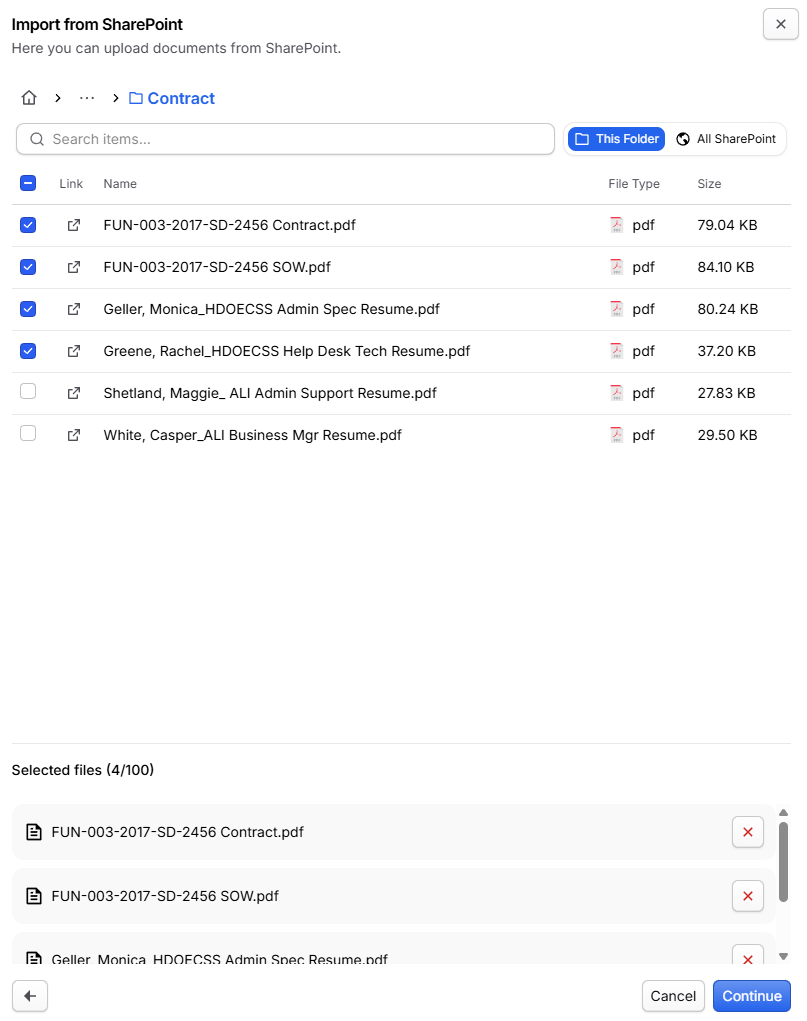
Once your folder is linked, simply click the folder in the list to bring up the documents present within the folder. Here you can choose to upload some or all files within the folder quickly.
Tracking File Changes
After linking your folder, GovDash will alert you to any changes within the linked folder within SharePoint, whether files are added or removed. You will be notified in-app, as well as a visual notification will show on the Documents tab of the contract.

By clicking the Review button, you can review any new or removed files and quickly add them (or remove old, deleted files) to your contract. GovDash will scan for new changes every 5 minutes.
Auto-Syncing New Files
You can enable auto-sync to automatically import Recommended files on synced folders. Recommended files are files that GovDash can make the best use of within your contracts. Files that are not recommended will need to be manually approved in order to import.
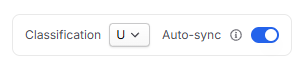
Before setting up auto-sync, you are required to specify what the classification level of every document being added to that SharePoint folder will be. For more granular control of classifications on a document-by-document basis, we do not recommend using auto-sync.
Recommended Document Types
The types of documents that GovDash recommends, and will auto-sync for documents in Contract, are as follows:
Auto-syncing Documents in Contract
Contract Award Summary
TO
Subcontract Agreement
Contract Modification
SOW
PWS
Statement of Objectives
Past Performance Volume
Past Performance Summary
Deliverables
Monthly Status Report
Meeting Minutes
CPARS
Audit Log
Every edit made to a contract record in GovDash is captured in the contract's Audit Log tab, so you can always reconstruct how a record got to its current state. Whether a field was updated by a team member, by Dash, or by a Dash Agent, the Audit Log shows you who made the change, when it happened, and exactly what changed.
To open it, click into any contract in your Contract Inventory and select the Audit Log tab in the left-hand sidebar.
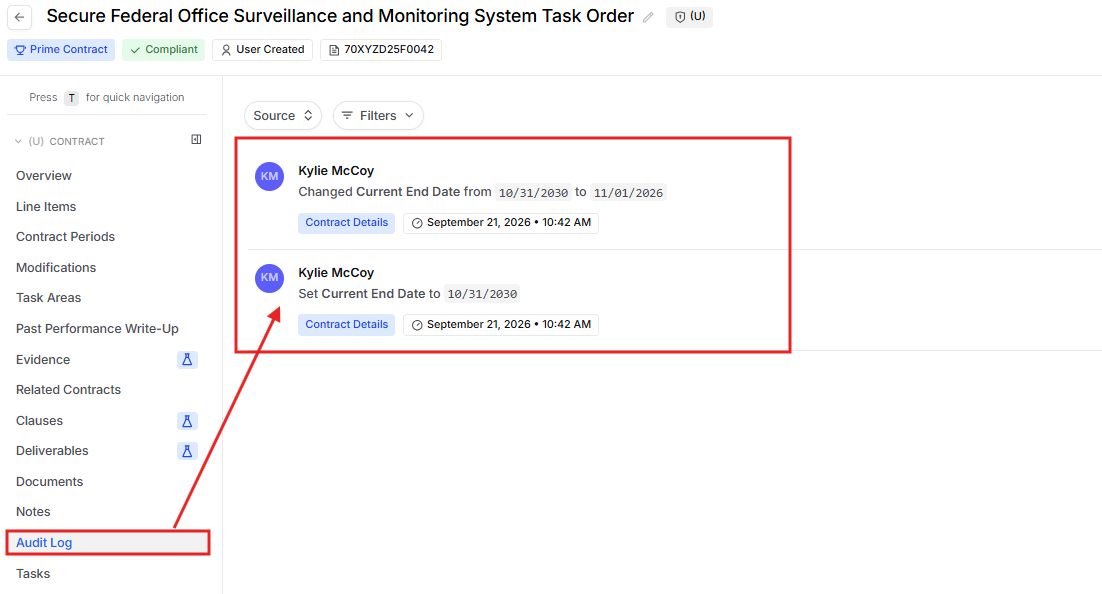
Reading an Audit Log Entry
Who made the change: the team member's name and avatar, Dash (with an "on behalf of" note naming the team member who was working with Dash), or the name of the Dash Agent that made the change.
What changed: a plain-language description such as Changed Award Value from $1,200,000.00 to $1,450,000.00, Set Contract Number to …, Cleared …, or Created line item / Deleted contract period. Old and new values appear in small highlighted boxes; click a value to copy it to your clipboard.
Which part of the contract it belongs to: a blue category badge reading Contract Details, Line Item, Contract Period, Contract Modification, or Deliverable Requirement.
When it happened: a date and time badge on each entry.
Filtering the Audit Log
On busy contracts, use the filters at the top of the Audit Log to zero in on the changes you care about:
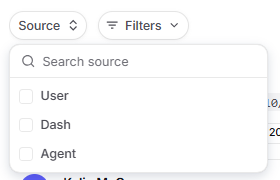
Click the Source button to show only changes made by a User, by Dash, or by an Agent.
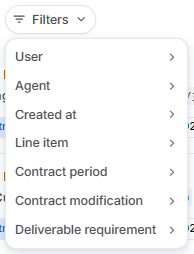
Click the Filters button to narrow the log further by User, Agent, Created at (a date range), Line item, Contract period, Contract modification, or Deliverable requirement.
Your active filters appear as chips above the list. Click the x on a chip to remove that filter.
Changing Document Types
At any time, you can change the document type for any document by selecting the drop down next to the file name and change the type within the list in Documents. This ensures that GovDash properly identifies what type of document is associated and understands its context and how it can be used throughout GovDash. For more information on how GovDash utilizes these document types, see our support article here.

External Contracts
For any contracts that have been uploaded where the Contract Recipient is not your organization, these will reside within External Contracts in the Contract Inventory main page.
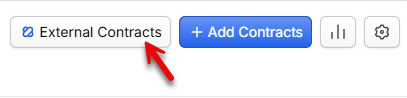
External Contracts are exempt from several flows within GovDash to ensure that your past performance remains the source of truth. External Contracts will not be used for:
Substantiation of claims
Past Performance content (unless you opt external contracts in by toggling Show ineligible contracts)
Discover recommendations
Capability Matrices (unless you opt external contracts in by toggling Show ineligible contracts)
Dash responses/Suggested Answers about your capabilities
External Contracts are meant to be utilized primarily with the Teaming module in order to properly assess their capabilities against the PWS.
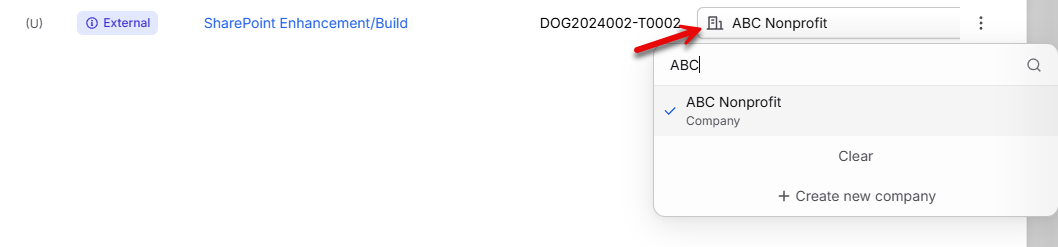
You can adjust which contracts appear as an External Contract by changing the Contract Recipient on an award to a team that is not your own.
Deleting Contracts
Deleting contracts can be done manually or in bulk. Using the Contract Inventory main page, you can select the boxes on the left of your contract titles, then click the red delete icon in the black action bar that appears at the bottom of your screen.

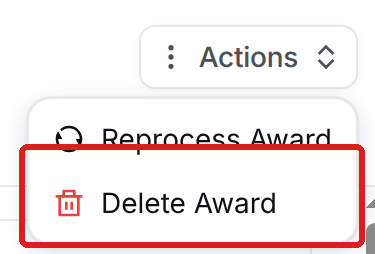
To delete a single contract, open it, click Actions in the top right, and choose Delete Award.
What happens after I delete my contract?
Deleting a contract also permanently deletes the documents that are attached only to that contract. Documents that are also attached to another contract, or used somewhere else in GovDash, stay in your Data Library.
Deleting Documents From Contracts
To remove a document from a contract, open the Documents tab in your contract, click the three dot action menu on the right of the document, and choose one of these options:
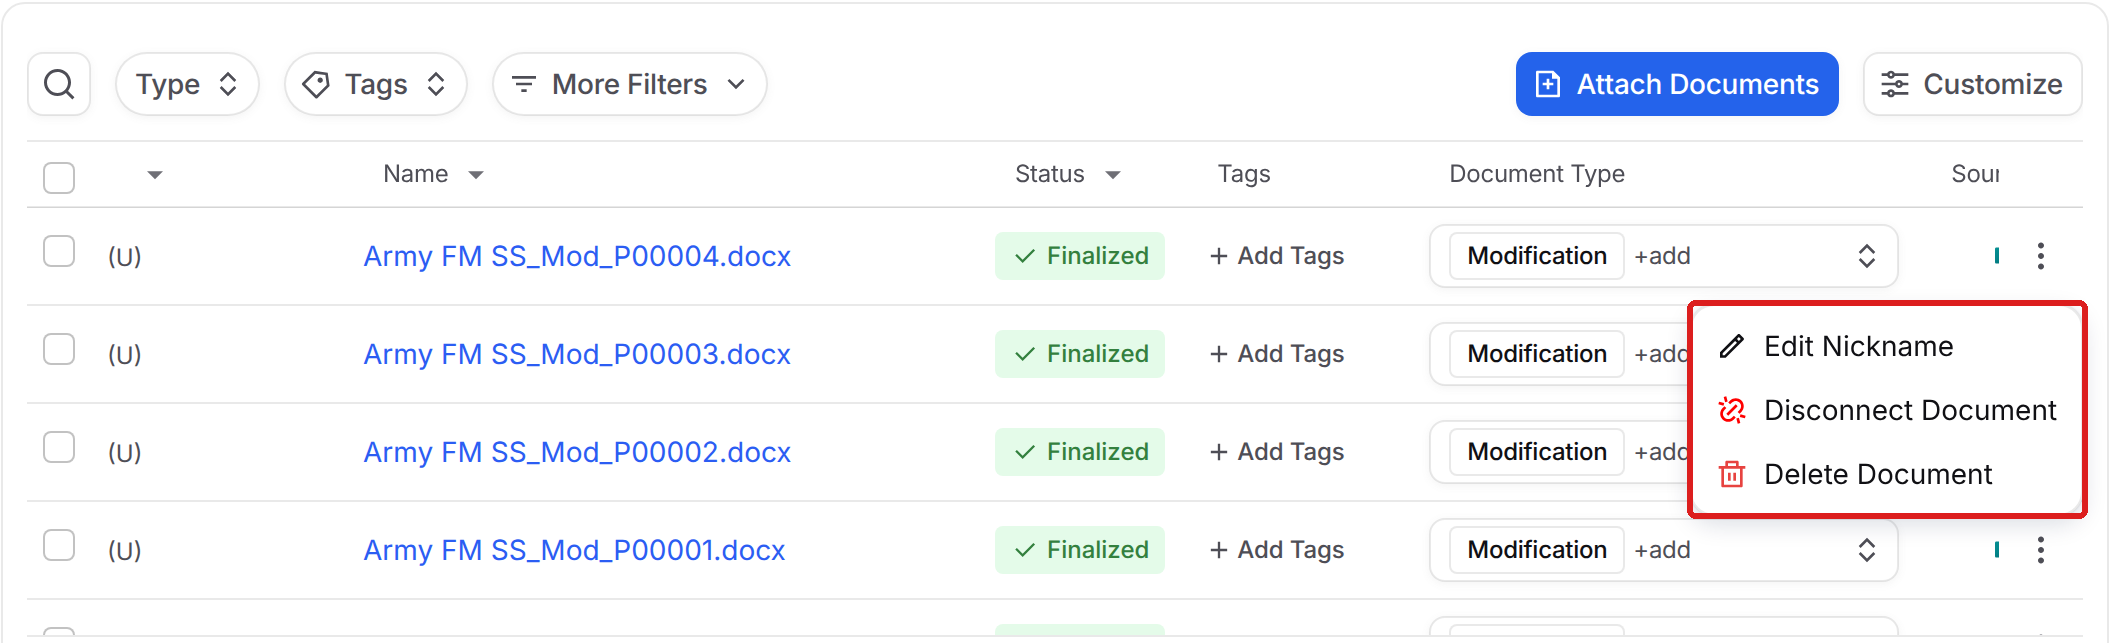
Disconnect Document: Removes the document from this contract but keeps it in your Data Library.
Delete Document: Removes the document from this contract and permanently deletes it from your Data Library. This can’t be undone.
FAQ
What types of documents can enhance my contract record in GovDash?
Enhancing your contract record can be achieved by uploading documents such as resumes, status reports, deliverables, and CPARS.
How can I verify if my main contract documents are uploaded?
You can verify the upload status of your main contract documents by checking the icon next to each contract title in your contract inventory list. A green check means both documents are uploaded. Hover over any other icon to see which document is missing.
Is it possible to upload multiple documents at once to a contract?
Yes, you can upload multiple documents at once by dragging and dropping files or browsing your local computer during the upload process.
Where can I see all of my contract documents in one place?
Click Contract in the left-hand navigation menu and open the Documents tab. It lists the documents attached to your contracts, and the Add Documents button lets you attach new files to any contract right from that screen.
How can I see who changed a field on my contract?
Open the contract record and click the Audit Log tab in the left-hand sidebar. Each entry shows the person, Dash, or Dash Agent that made the change, the date and time, and the field's old and new values. Use the Source filter or the Filters menu to narrow the log down to a specific user, agent, date range, line item, contract period, modification, or deliverable.