Agreements Page
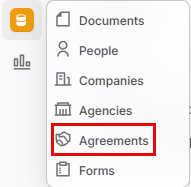
The Agreements page in your Data Library is where you create and track Non-Disclosure Agreements (NDAs) and Teaming Agreements with your teaming partners. It lists every agreement across all of your opportunities in one table.
Use the Status, Type, Company, and Opportunity filters to narrow the list, or click Customize to choose which columns you see. The table shows each agreement's partner, type, status, opportunity, contact, sent date, signed date, expiration date, and attached documents.

Creating Agreements
Click New Agreement in the top right.
Under Select a company, choose the partner company.
Choose an Agreement Type: NDA or Teaming Agreement.
Click Create Agreement.
.png)
You can also create agreements from an opportunity's Teaming tab. There, you can select several teaming partners under Select teaming partnerships and create an agreement for each of them at once.
Sending Agreements and Approving Responses
Open the three dot menu on an agreement and click Send Agreement. Then choose how you want to send it:
Send via GovDash: Pick the contact person and attach the agreement file you want them to sign. GovDash emails it to them for signature.
Mark as sent: Record an agreement you sent outside GovDash, along with the date you sent it.
When you send through GovDash, the recipient gets an email with a secure link. The link only works for their email address, and they confirm it with a one time code sent by email. They can then download the agreement, sign it, and upload the signed copy.
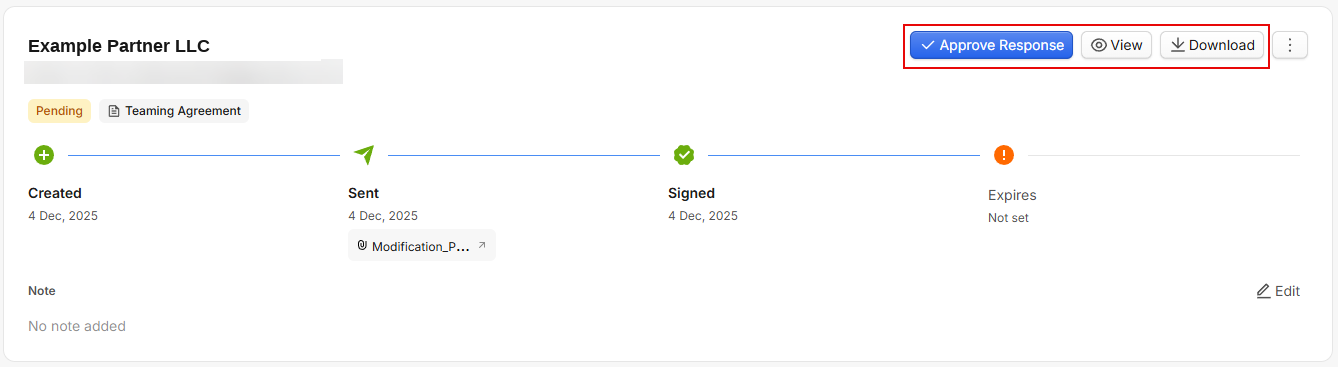
When the signed copy comes back, click Approve Response to attach the signed document to the agreement, or use Reject Response in the three dot menu if it isn't right. If you received the signed agreement another way, use Mark as Signed to set the signed date and upload the executed document.
Agreement Cards
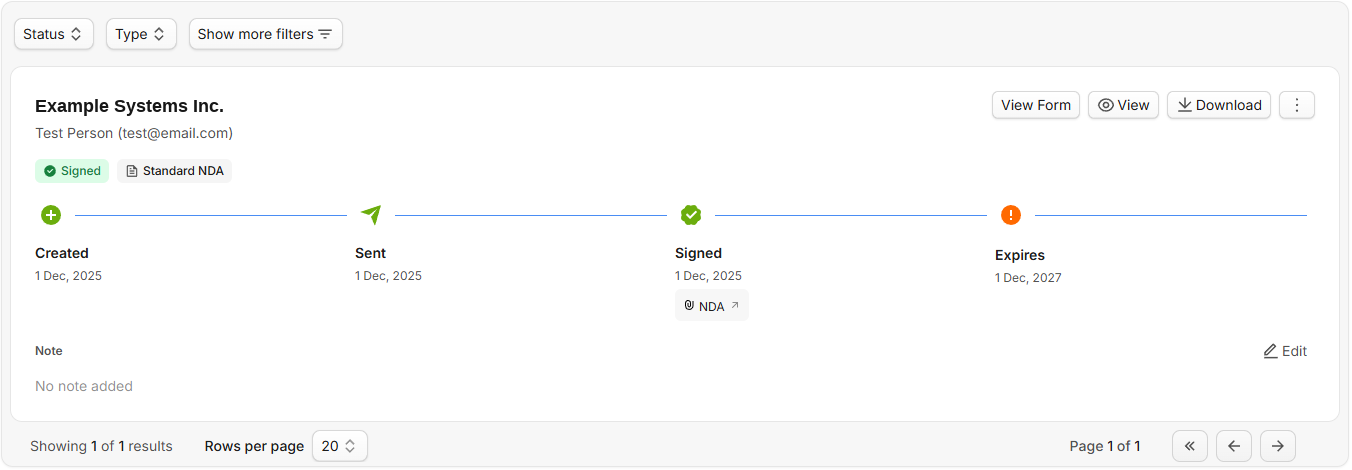
On an opportunity's Teaming tab, each agreement appears as a card. The card shows the partner, the contact person, a status badge (Signed, Pending, Expired, or Cancelled), and a type badge (Standard NDA or Teaming Agreement).
Progress Stepper
A timeline on each card tracks the agreement through four milestones: Created, Sent, Signed, and Expires. Click a step that isn't complete to take that action. For example, clicking Sent opens the Send Agreement window, and clicking Signed lets you set the signed date and upload the executed document.
Agreement Actions
The three dot menu on each agreement includes:
Send Agreement: Send or resend the agreement.
View Details: See the contact, dates, and attached documents.
Edit Agreement: Change the contact person or agreement type.
Attach Original: Upload the original, unsigned agreement.
Mark as Signed or Upload Signed Agreement: Record the signed copy.
Delete Agreement: Remove the agreement.
Some options only appear when they apply. For example, the response options show up after your partner submits a signed copy. Each card also has a Note section for internal comments. Click Edit to add one.
.png)
To delete several agreements at once, select their checkboxes in the Agreements table and click the delete icon in the action bar.